I got myself a scanner so that I could scan some paperwork. Payslips, tax declarations. I went for the Brother DS620 because of it’s small size and the fact that it had linux drivers available. Here’s how I set it up and a small cheatsheet for the future.
Setup
Install sane (Scanner Access Now Easy), which is the scanner equivalent of cups I guess.
apt install sane sane-utils libsane-extrasDownload and install the driver from brother, which is helpfully packaged already as a .deb.
https://support.brother.com/g/b/downloadtop.aspx?c=us&lang=en&prod=ds620_all
Test if you can now see the scanner using scanimage, which is the cli tool we’ll use to scan later.
If it doesn’t work with your user, try with root. For me it didn’t work with my non-root user, but root worked.
$ scanimage -L

No scanners were identified. If you were expecting something different,
check that the scanner is plugged in, turned on and detected by the
sane-find-scanner tool (if appropriate). Please read the documentation
which came with this software (README, FAQ, manpages).
$ sudo scanimage -L
device `dsseries:usb:0x04F9:0x60E0' is a BROTHER DS-620 sheetfed scanner
To allow your user to use the device, you’ll need to modify the udev rules that brother helpfully installed for you.
For me it looked as follows in the default state after I had installed the package. You’ll find the udev rules in the /etc/udev/rules.d folder. This was the contents of the /etc/udev/rules.d/50-Brother_DSScanner.rules file.
KERNEL=="sg[0-9]*", ATTRS{type}=="0", ATTRS{vendor}=="Brother", ATTRS{model}=="DS-620", MODE="0666", GROUP="users"
KERNEL=="sg[0-9]*", ATTRS{type}=="0", ATTRS{vendor}=="Brother", ATTRS{model}=="DS-720D", MODE="0666", GROUP="users"
KERNEL=="sg[0-9]*", ATTRS{type}=="0", ATTRS{vendor}=="Brother", ATTRS{model}=="DS-820W", MODE="0666", GROUP="users"
KERNEL=="sg[0-9]*", ATTRS{type}=="0", ATTRS{vendor}=="Brother", ATTRS{model}=="DS-920DW", MODE="0666", GROUP="users"
It sets the rule to allow the users group to access the scanner. However, I don’t have a users group. So I change this to scanner instead.
KERNEL=="sg[0-9]*", ATTRS{type}=="0", ATTRS{vendor}=="Brother", ATTRS{model}=="DS-620", MODE="0666", GROUP="scanner"
KERNEL=="sg[0-9]*", ATTRS{type}=="0", ATTRS{vendor}=="Brother", ATTRS{model}=="DS-720D", MODE="0666", GROUP="scanner"
KERNEL=="sg[0-9]*", ATTRS{type}=="0", ATTRS{vendor}=="Brother", ATTRS{model}=="DS-820W", MODE="0666", GROUP="scanner"
KERNEL=="sg[0-9]*", ATTRS{type}=="0", ATTRS{vendor}=="Brother", ATTRS{model}=="DS-920DW", MODE="0666", GROUP="scanner"
I also add my user to the scanner group.
sudo usermod -G scanner -a tethik
gpasswd -a tethik scanner
Lastly I had to unplug and plug back in the printer before the udev rules seemed to take effect.
$ scanimage -L
device `dsseries:usb:0x04F9:0x60E0' is a BROTHER DS-620 sheetfed scanner
Success 🎉!
Usage
Now that it’s all set up, here’s how the scanner can be used.
To scan an image as a PNG. By default it will use greyscale. For this specific model, you’ll want to feed your document/image so that the scanner “grabs” it before you run the command. Once you start the scanimage tool it will feed it through.
scanimage --format=png --progress > test.pngTo scan with colour, just set the --mode. You can also up the resolution with --resolution with 600 dpi being the max for this device.
scanimage --format=png --mode Color --resolution 600 --progress > colortest.pngTo scan an A4 with the correct size, you need to set the dimensions. -x 210 -y 297 sets the 210x297mm standard size for A4.
scanimage --format=png -x 210 -y 297 --progress > colora4test.pngGUI Alternative
Using the commandline can be cumbersome, so I now use a GUI program instead.
It makes it a lot easier to create multi-page pdfs and to rescan. I opt for the very
minimalistic simple-scan program, which just came preinstalled for me. With the above
udev settings it works out of the box.
Installing is easy:
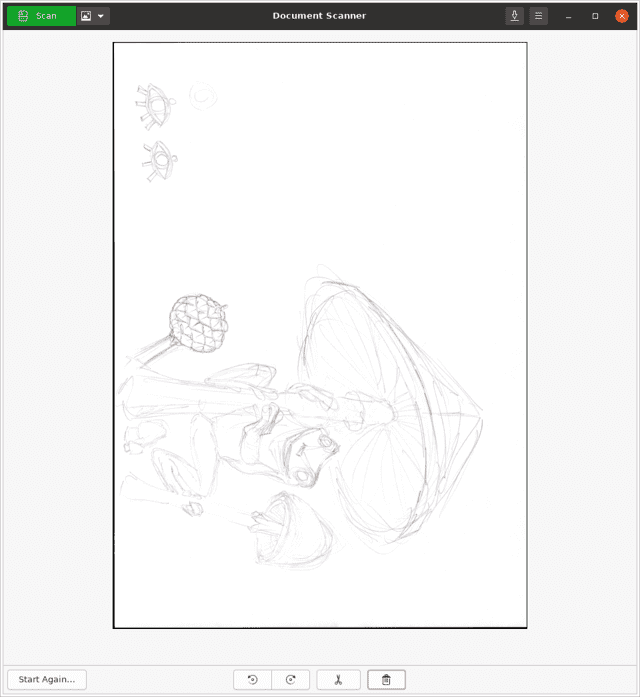
sudo apt install simple-scanHere’s what the UI looks like (with bonus drawing of a cute frog by my girlfriend :)):

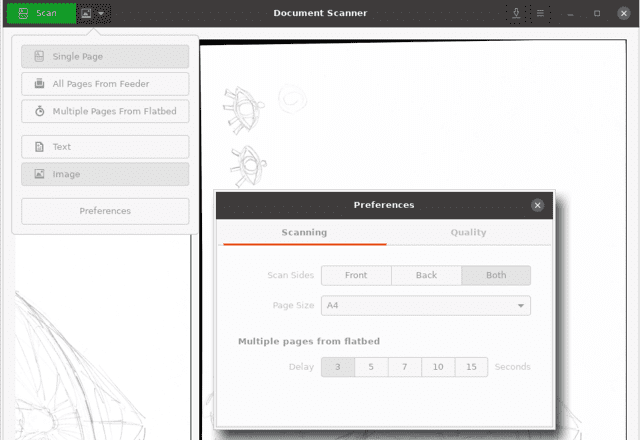
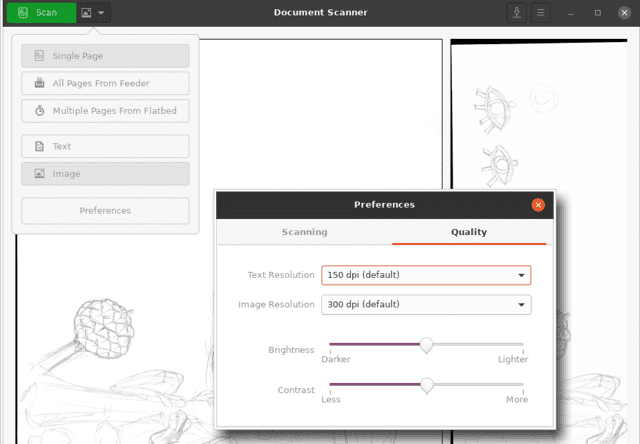
While simple, it also offers plenty of settings to adjust, if you want to.

Troubleshooting
No longer working after dist upgrade
After upgrading to Ubuntu 20.04, I found that the scanner no longer worked.
scanimage -L as both root / non-root did not detect the scanner,
so likely it is not a udev issue of permissions.
After checking lsusb the device is correctly identified.
The suggested sane-finder-scanner gave some helpful hint (see output below)
that SANE might not have the “support”, i.e. driver, any more.
tethik@mimikyu:~$ sudo sane-find-scanner

found USB scanner (vendor=0x138a, product=0x0017) at libusb:002:006
could not fetch string descriptor: Pipe error
could not fetch string descriptor: Pipe error
  # Your USB scanner was (probably) detected. It may or may not be supported by
  # SANE. Try scanimage -L and read the backend's manpage.

  # Not checking for parallel port scanners.

  # Most Scanners connected to the parallel port or other proprietary ports
  # can't be detected by this program.
On a whim I decided to try just reinstalling the driver from Brother, which actually seems to have fixed the issue.
sudo apt remove libsane-dsseries
sudo apt install ./libsane-dsseries_1.0.5-1_amd64.deb
Reinstalling the driver also overwrites the udev rules again, so again the groups need to be fixed so my non-root user can use the scanner. Same instructions as above apply.
References
https://help.ubuntu.com/community/sane
